 |
| Brand New on Etsy! Hand Embroidery PDF Patterns - Nesting Doll, Owl, & Summer Time Design Sheets! I'll be adding a few more patterns in the coming weeks including more project patterns! |


|
| Brand New on Etsy! Hand Embroidery PDF Patterns - Nesting Doll, Owl, & Summer Time Design Sheets! I'll be adding a few more patterns in the coming weeks including more project patterns! |
 |
| Felt Woodland Deer Dreamcatcher made from Embroidery hoop, vintage ribbon, hand embroidery, & eco friendly Felt! Now on Etsy! |

 |
| Felt Fox Dreamcatcher made from embroidery hoop, hand embroidery, modern fabrics, and lace! Now on Etsy! |
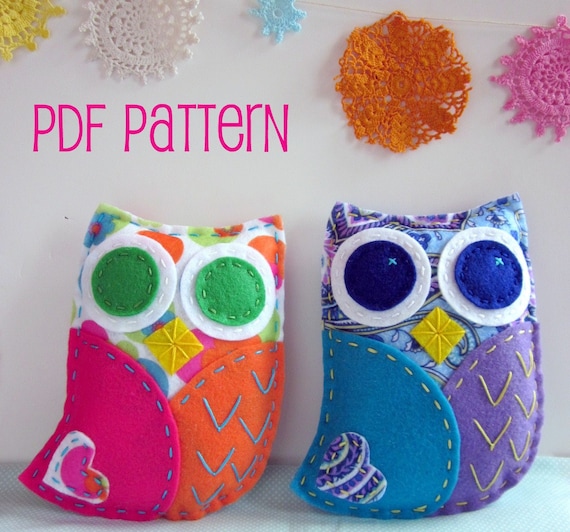 |
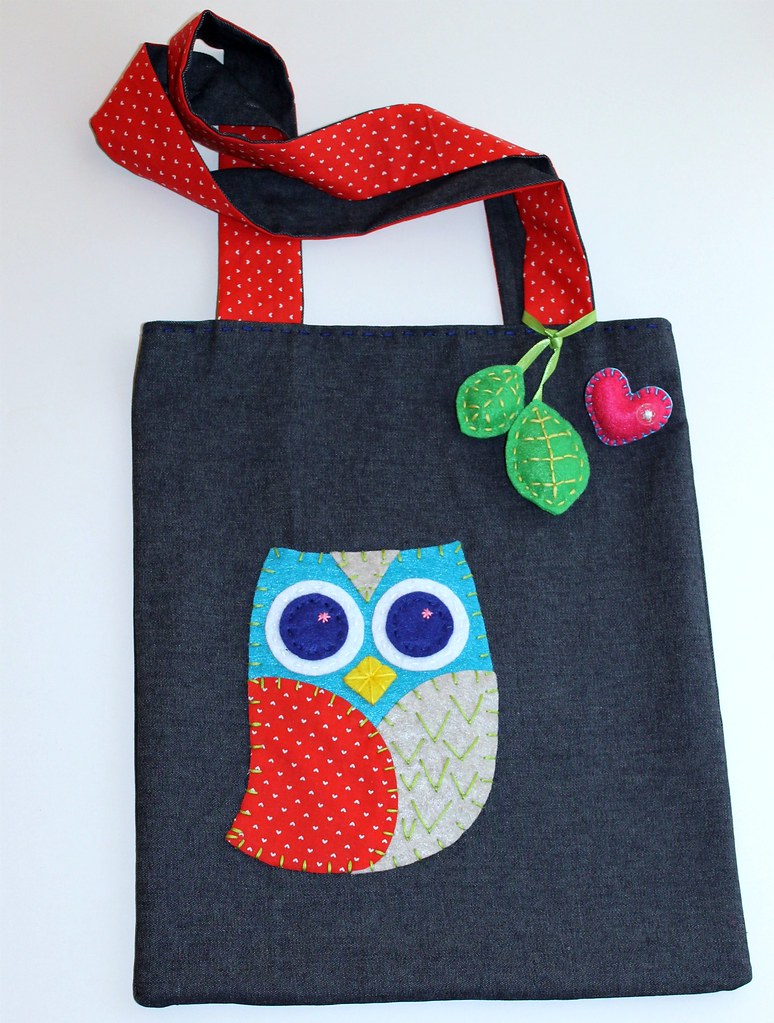
| Introducing my first PDF Hand Sewing Pattern: Retro Owl Plush Pattern! It's $6 and arrives directly to your inbox! I hope to get more project patterns into the shop very soon! So be on the lookout! |
 |
| Hey Friends! Lots of goodies in the shop are on SALE, including pins, keychains, & lots of other sweet felt things! I'm clearing out to make room for some new goodies! Happy etsying! Visit the Etsy Shop! |
 |
| missisaau |
So I'm very happy that I've been working on a new special project, my first craft book! (insert a million exclamation marks here) I obviously can't share many details of what I'm working on but I'll try to share what I can along the way and keep you updated. I can tell you that, my book is being published with North Light Books and will be released in 2012. It's going to feature a lot of brand new & interesting projects that I'm so excited to be working on! In fact, I must admit I'm not -the best- secret keeper so not being able to post & share all of these neat new things is going to be so, so difficult!!! This is also the reason I've been a little MIA lately and had temporarily taken down some of my wholesale listings, etc. So just wanted to let you all know whats up!  |
| Thanks so much for the all the support on the Owl Cozy giveaway! I loved reading all your responses! The winners of the giveaway are Ausra & Rougeau26, they were numbers 23 & 33 which were randomly chosen by random.org! Thanks again, I hope to host another giveaway later this summer! |


 |
Won a pretty awesome giveaway on Twitter from @Crafternews, received a ton of neat books!  |
 |
| Received some brand new Eco Felt from Kunin! I'm not sure the new printed Eco Felt by Kunin is available in stores yet so I thought I'd share! It's super fun, I can't wait to try out some new projects with it! It's also super soft, I've seen other printed felt before and well, this new Eco felt is just different! Most I've seen has been almost like a screen print on felt and its rather rough on one side, this new printed Eco felt almost seems woven as it has the same soft felt texture on both the back & printed side. Looking forward to see what other prints come out! I'd love to see some polka dots or ginghams! |
 |
| I got married! My new hubby Joe & I decided to just go get hitched & just be married, we tied the knot on Feb. 28th! We've been together a long time and well I'm just not one for big parties but don't get me wrong - I'll totally go to your big party, just didn't want to plan one myself!! However, we did a have a super nice family party last weekend to celebrate! Horray! |
 | ||||
| Updated the Shop with a Tree Mobile today - I added a sweet little butterfly to this one! |
 |
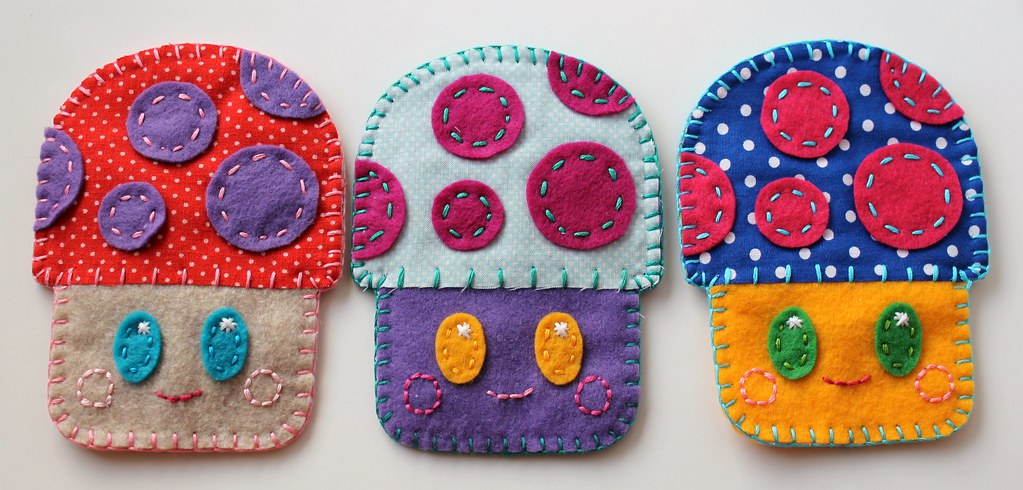
| Created this little cutie to support relief efforts in Japan! I will be donating 100% of the sale of these badges to the Red Cross and other organizations supporting relief efforts. Donate today by picking one up here, wear it to spread the love, and let those in Japan know we're thinking of them in their time of need!The badge will be available through the end of April. I'm totally amazed by the courage of the Japanese people and hope many blessings come their way soon! Japanese art & culture has been a continuing inspiration for me and I just want to say thanks! |
 | ||
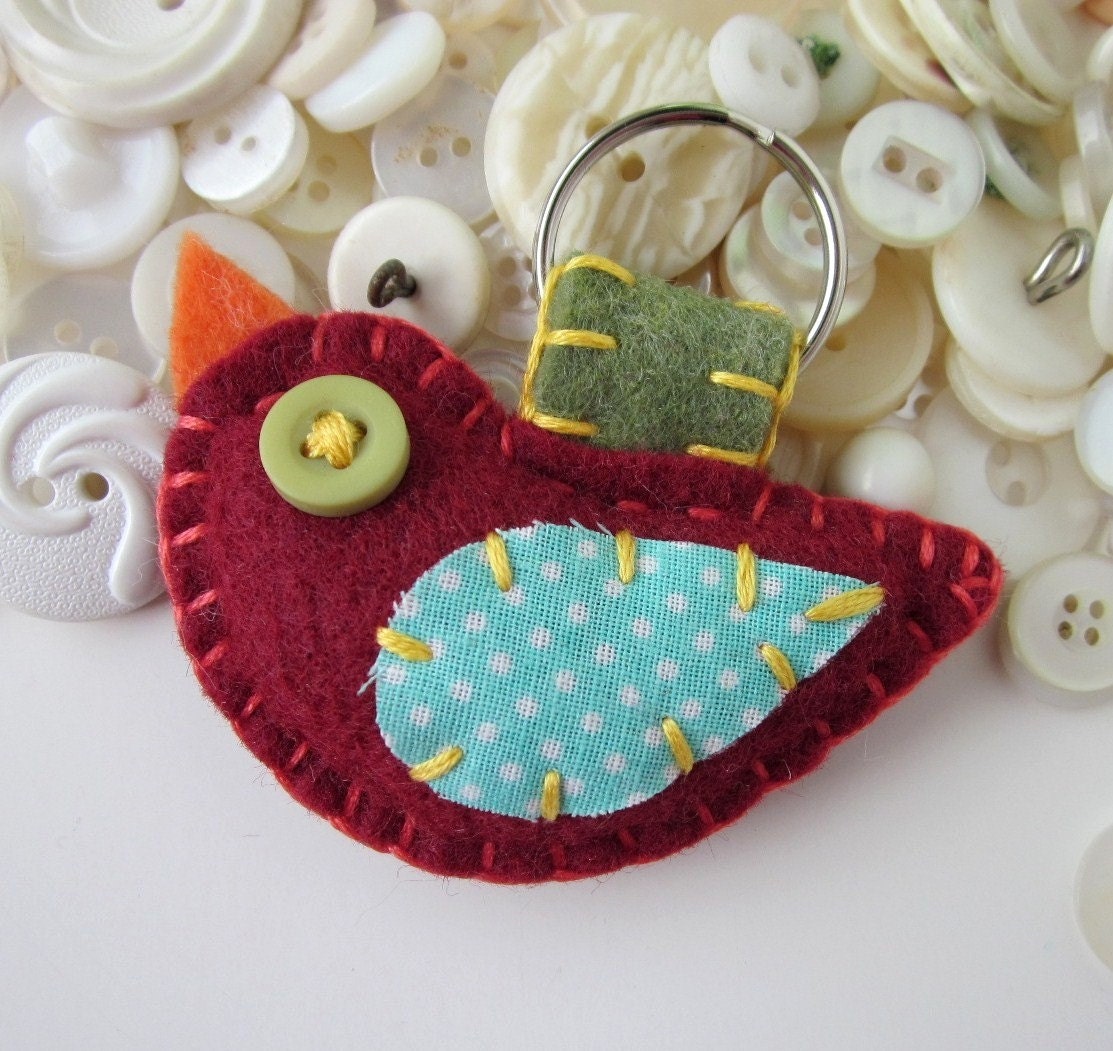
| Shop Update! Added a few new Owl & Bird Keychains to the shop yesterday! I have a few brand new goodies on the way very, very soon so be sure to check in! I'll also be announcing a Giveaway on Thursday!!! Stop by to enter and check out what awesome LR goodies you'll have a chance to win! |
Hey Friends! Just wanted to share with you today a how-to on Framed Embroidery Hoops! Framed Embroidery Hoops are every where, they make great gifts, wall art, and a perfect way to show off your embroidery! I'm sure most methods are quite similar but I haven't seen anyone back their hoops like I do so I thought I'd teach you how! 


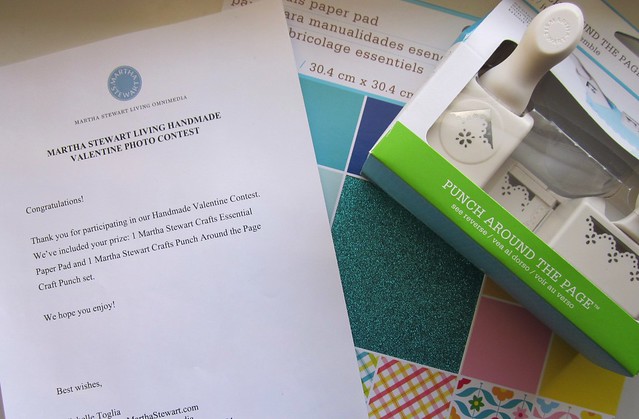
 I was super excited to receive an email from one of the editors at MarthaStewart.com recently! I won their Martha Stewart Handmade Valentine's Contest for submitting my Valentine's Owls! I'm not certain there will be any type of announcement on MarthaStewart.com but I'm still stoked - it's just not every day you get an email or goodies direct from the people at Martha Stewart!
 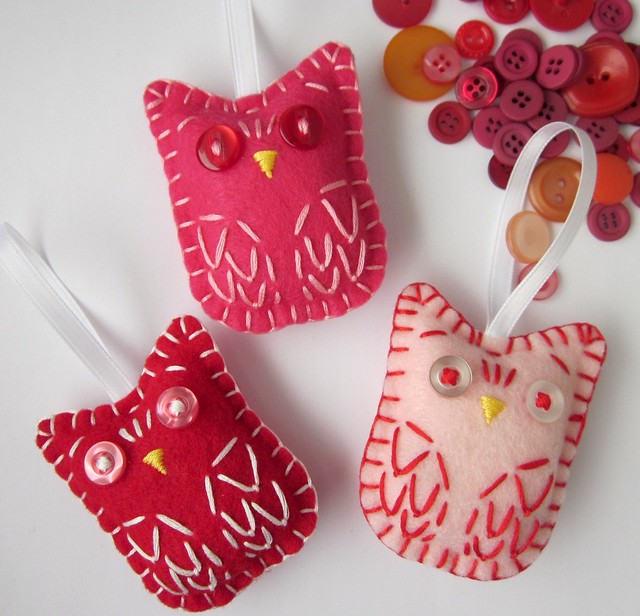 |
| Valentines Edition Owl Ornaments! |


